

What Is Service Url In Spring Starter Project
Spring Boot is built on the top of the spring and contains all the features of spring. And is becoming a favorite of developers these days because of its rapid production-set environment which enables the developers to directly focus on the logic instead of struggling with the configuration and setup. Bound Boot is a microservice-based framework and making a production-gear up application in information technology takes very little time. Following are some of the features of Leap Boot:
- It allows fugitive heavy configuration of XML which is present in spring
- It provides piece of cake maintenance and creation of Remainder endpoints
- It includes embedded Tomcat-server
- Deployment is very easy, war and jar files can exist easily deployed in the tomcat server
For more than information please refer to this commodity: Introduction to Spring Boot
And so in this article, nosotros are going to explain how can we create and set up up bound kick projects in Spring Tool Suite IDE. Bound Tool Suite (STS) is a java IDE tailored for developing Spring-based enterprise applications. It is easier, faster, and more than convenient. And near chiefly it is based on Eclipse IDE. STS is free, open up-source, and powered past VMware. Spring Tools 4 is the adjacent generation of Bound tooling for the favorite coding environment. Largely rebuilt from scratch, it provides world-course support for developing Leap-based enterprise applications, whether yous adopt Eclipse, Visual Studio Lawmaking, or Theia IDE.
Procedure:
- Install Bound Tool Suite IDE
- Create a new Spring project
- Fill details in the pop-up window and press Next.
- Choose Spring Boot version and select dependencies and printing Next.
- Click on the 'Finish' button.
Stride 1: Install Leap Tool Suite (Spring Tools four for Eclipse) IDE
For this user must have pre-requisite cognition of downloading and installing Spring Tool Suite IDE
Step 2: Get to the File > New > Spring Starter Project as shown in the below epitome.

Step 3: In this pop-up window make full the detail beneath as follows and further click on the Side by side button as shown in the beneath image.
- Service URL: Default
- Name: Your Project Name
- Type: Maven Project
- Java Version: 11 or greater than eleven
- Packaging: Every bit your need
- Linguistic communication: As your need
- Group: A unique base name of the visitor or group that created the project
- Antiquity: A unique name of the projection
- Version: Default
- Description: Equally your need
- Package: Your parcel name

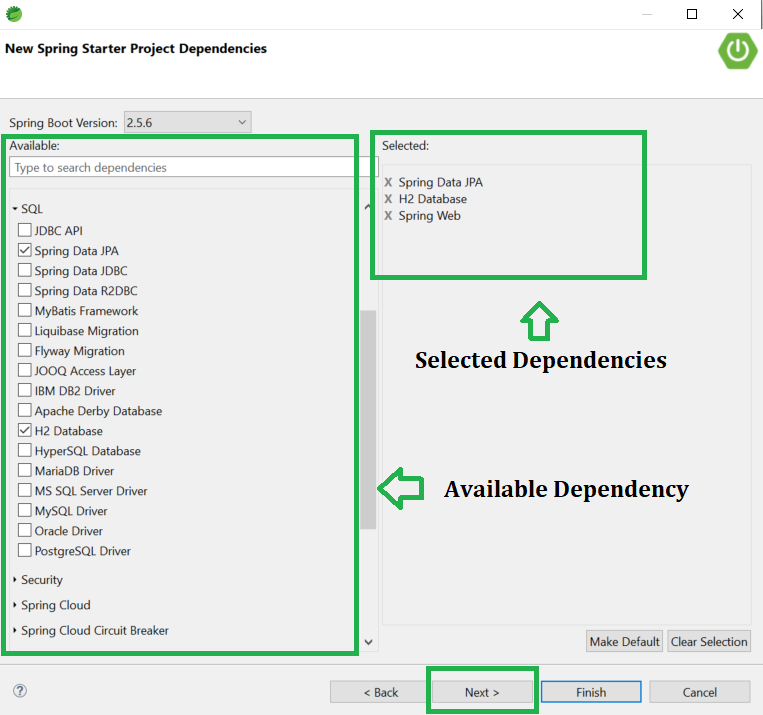
Step 4: Choose your required Spring Boot Version and select your dependencies as per your project requirement. And at last click on the Next push button.
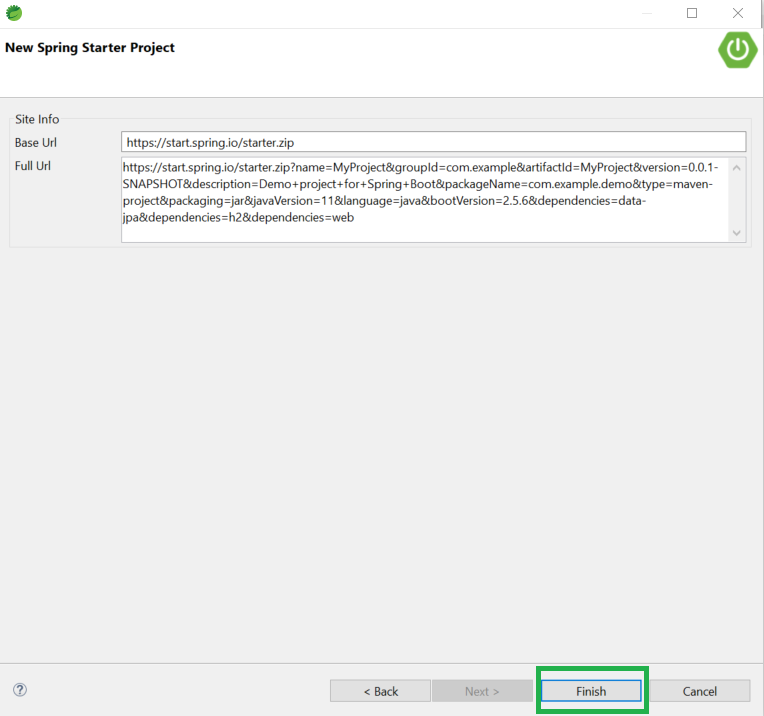
Step five: Now simply click on the Terminate button.
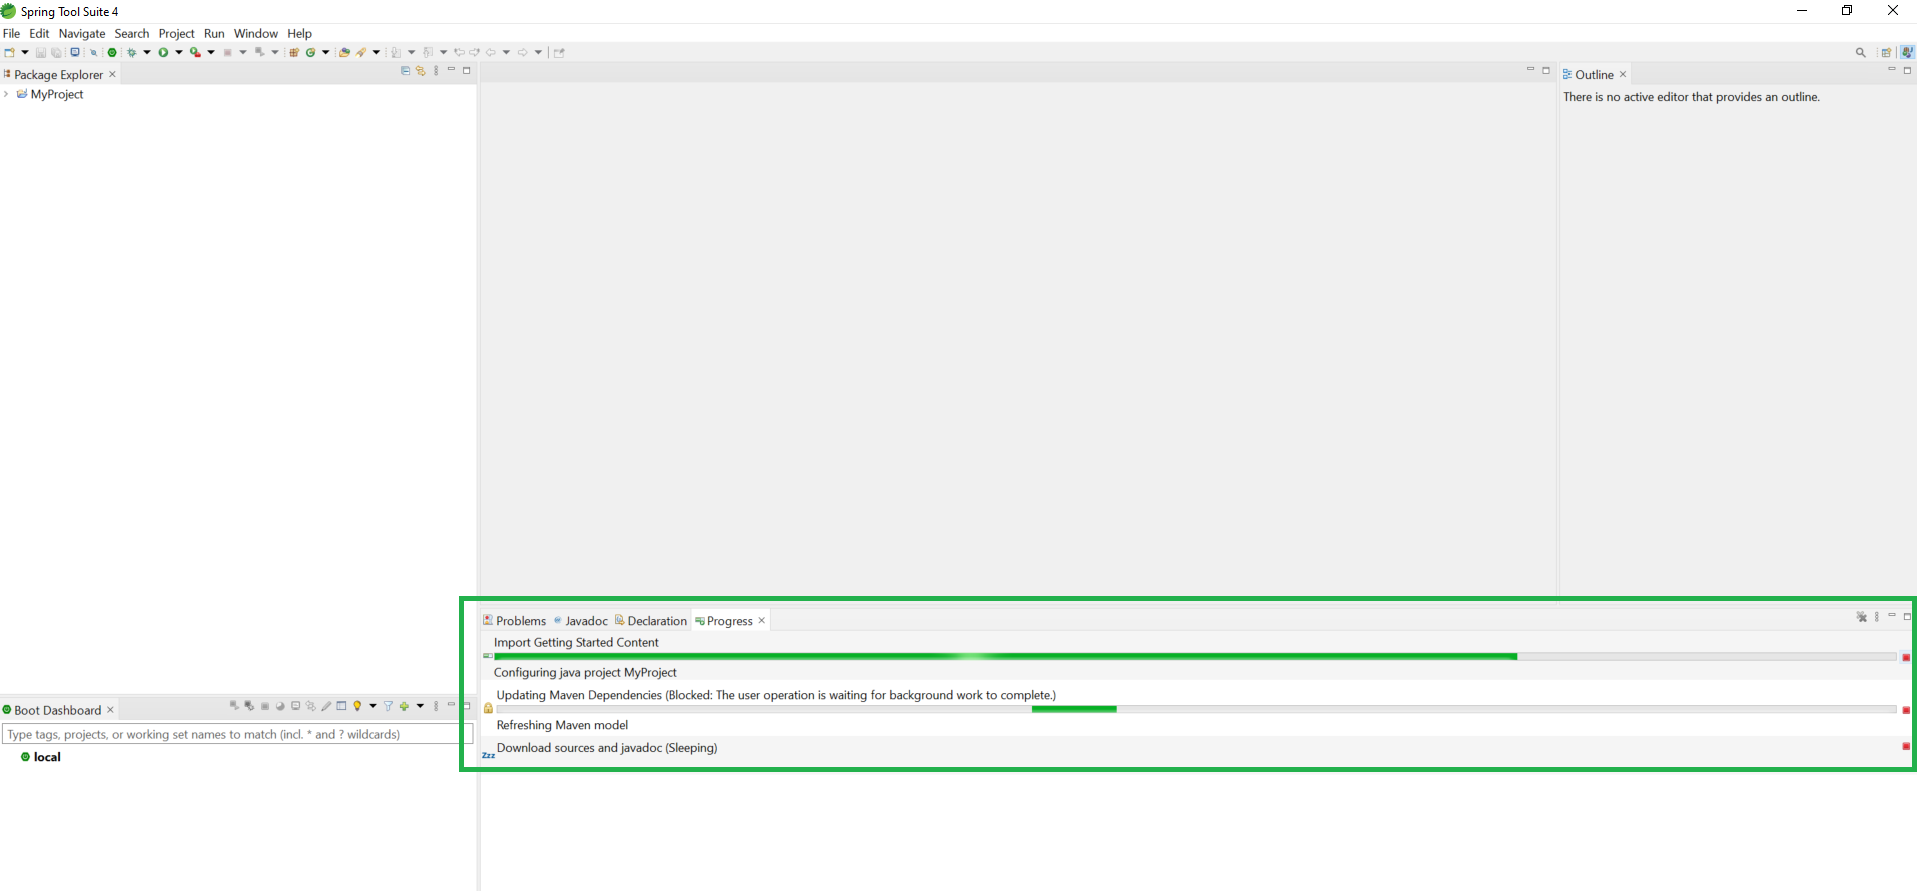
Here now, delight look for some time to download all the required files such as dependencies that yous have selected in Step4 above.
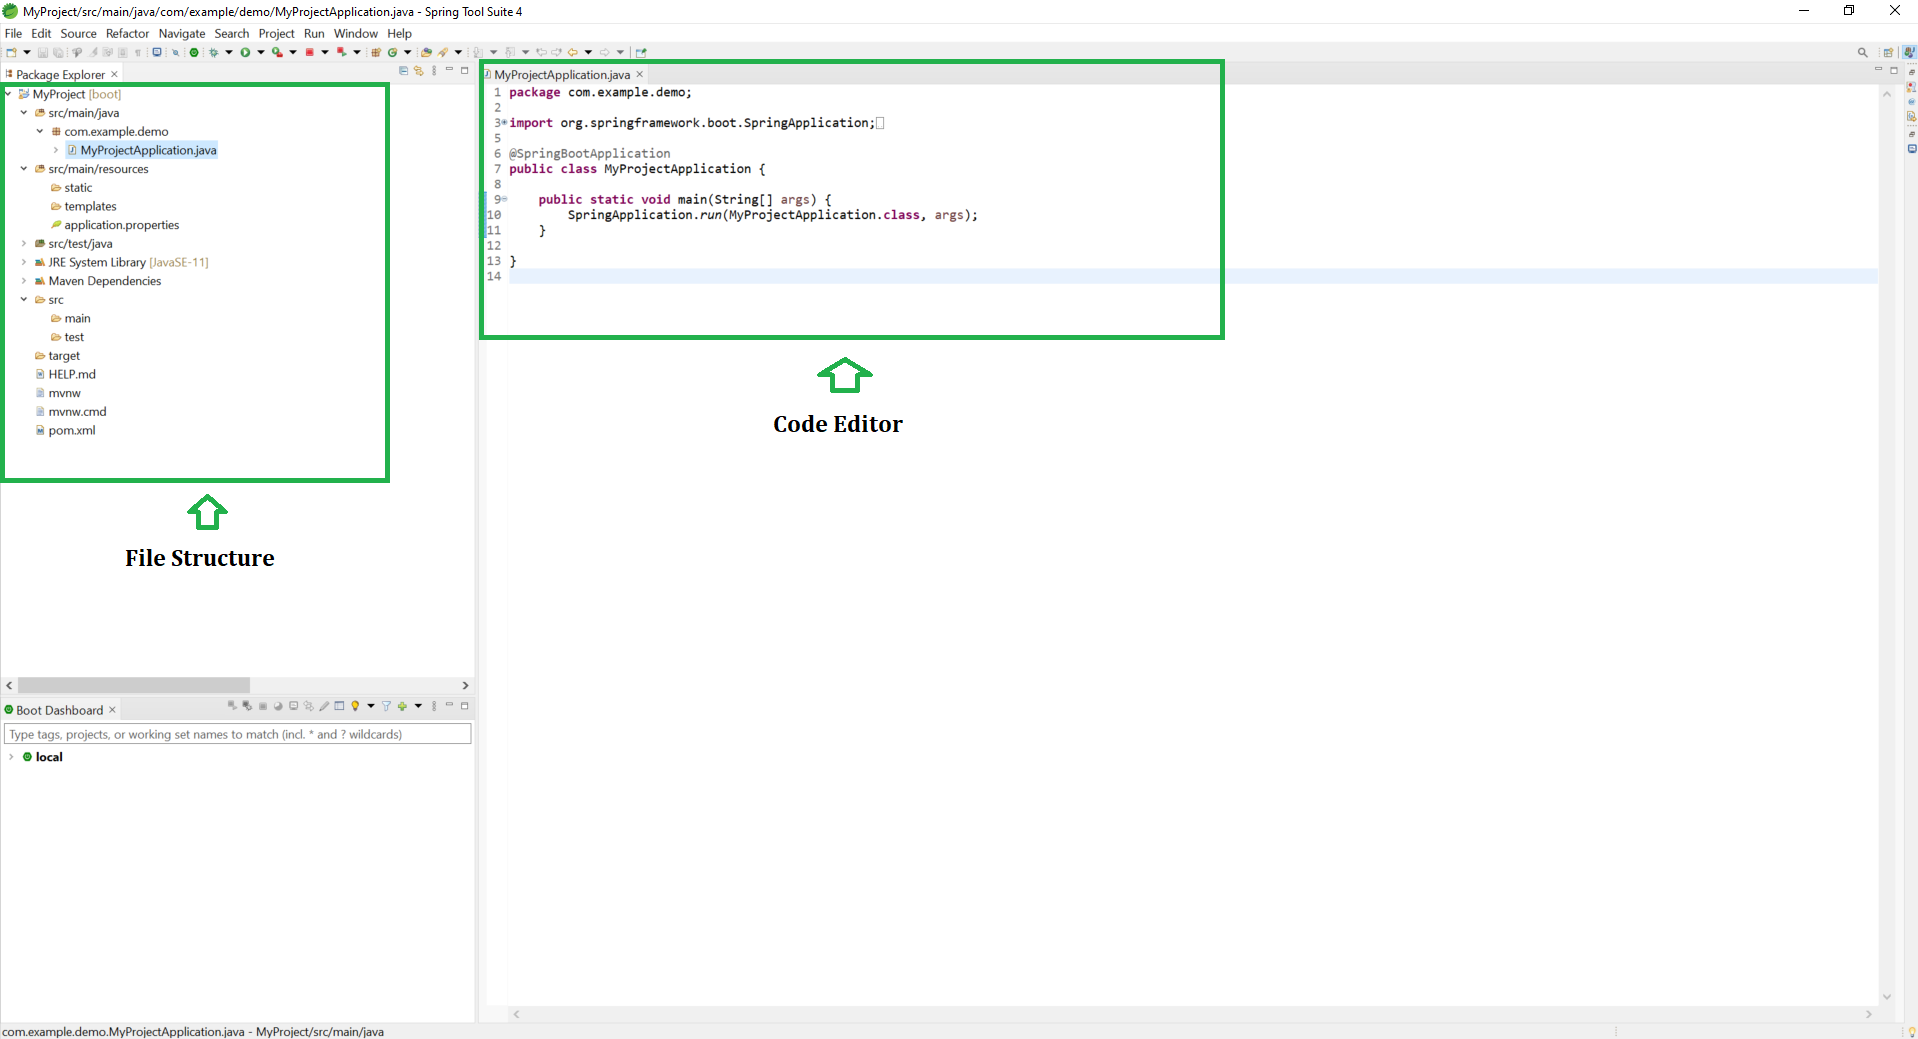
Below is the Welcome screen afterwards you have successfully Created and Setup Spring Boot Project in Leap Tool Suite

Source: https://www.geeksforgeeks.org/how-to-create-and-setup-spring-boot-project-in-spring-tool-suite/
Posted by: ellisreenamen.blogspot.com
0 Response to "What Is Service Url In Spring Starter Project"
Post a Comment